
Last updated November 16, 2026
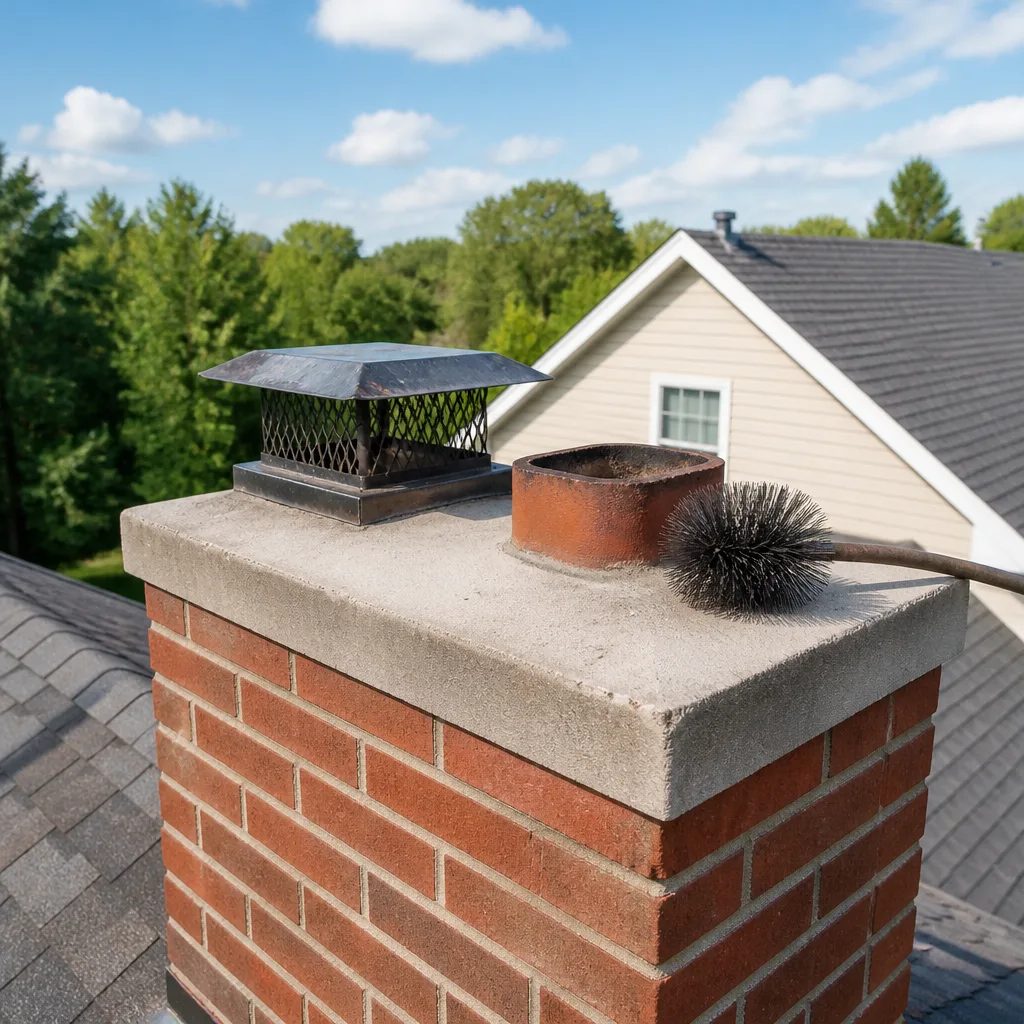 Sweep & inspection
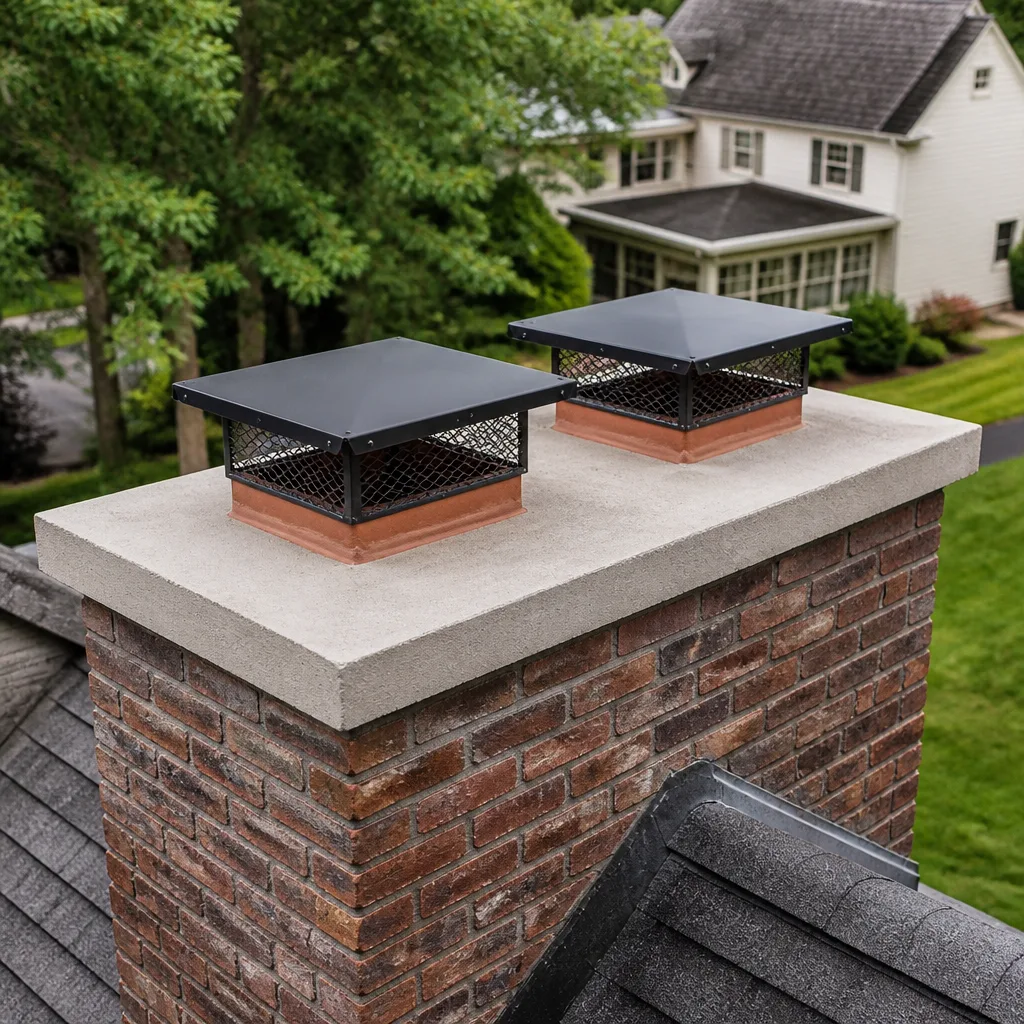 Caps & crowns
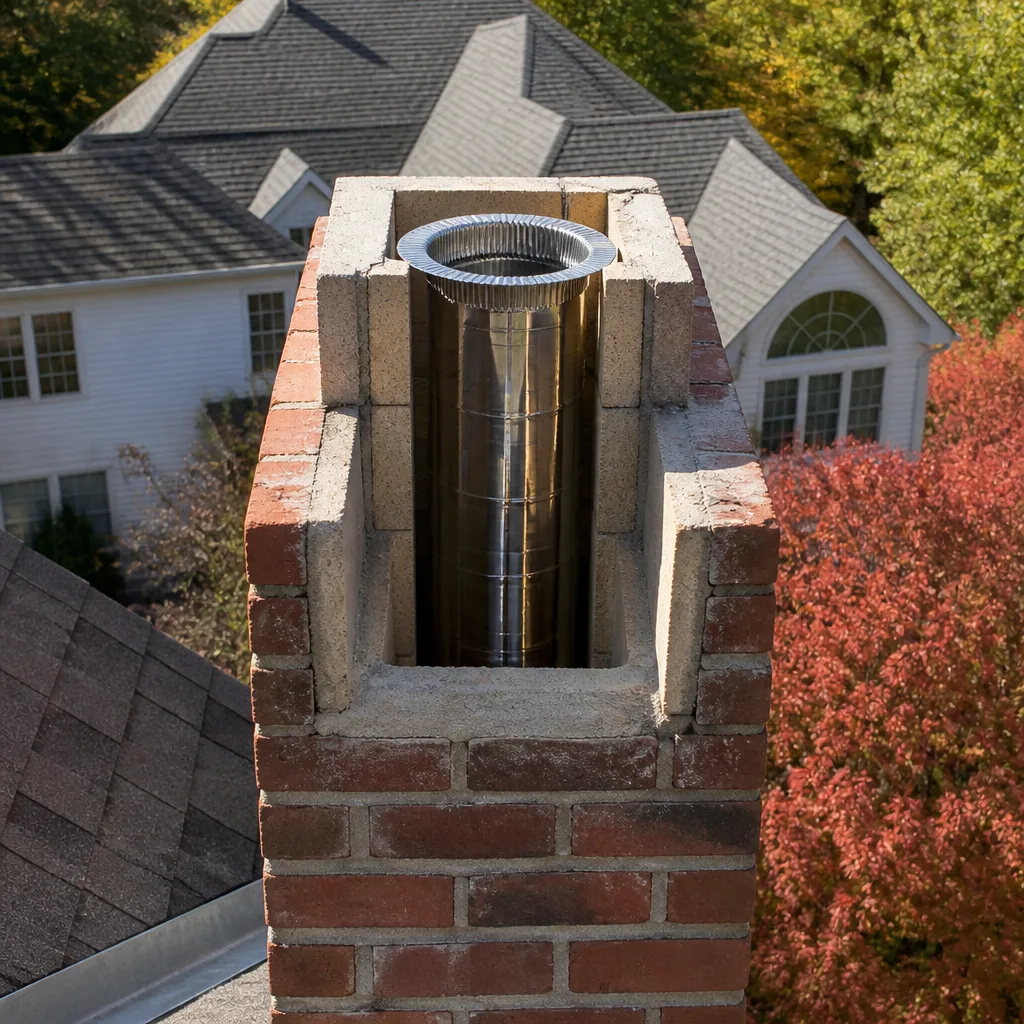 Flue relining
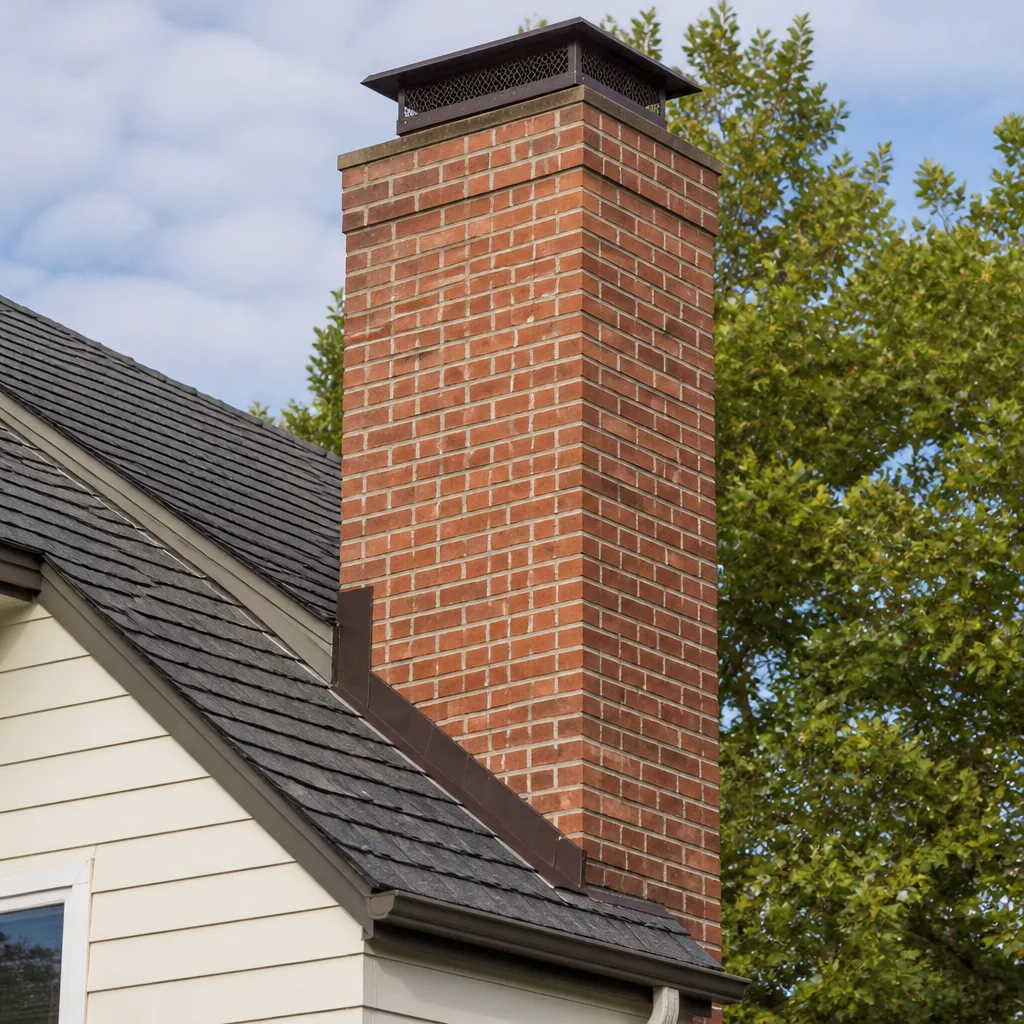 Masonry repair
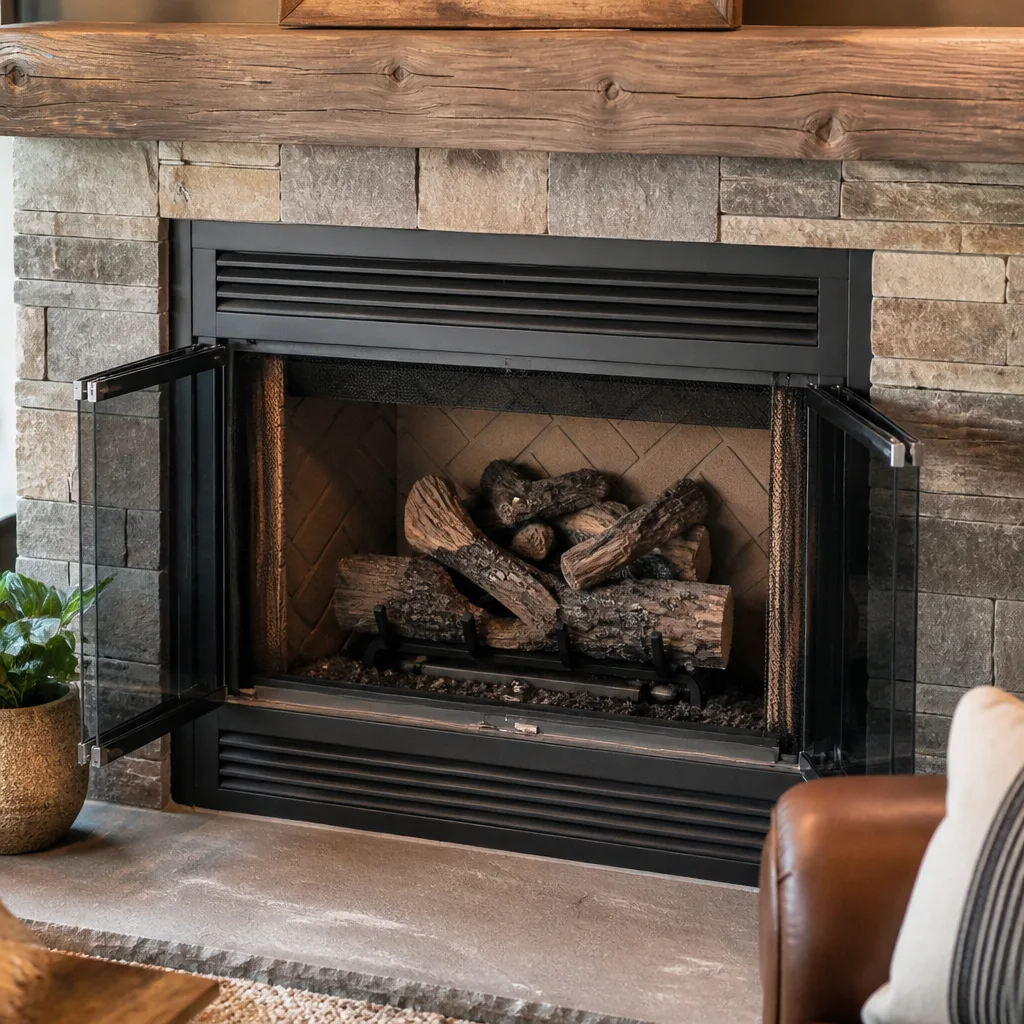 Gas fireplace service
Level 1 sweep and inspection to the NFPA 211 annual standard - flue, crown, cap, and flashing checked and photographed
Chimney sweep logs do not sweep chimneys. They loosen some creosote - which then falls where a brush and vacuum still have to collect it.
Chimney Sweep Maintenance Checklist for St. Paul Homeowners
Most chimney checklists are written for a country that doesn’t freeze. They tell you to look for creosote and call it a day, which is a little like inspecting a roof by checking whether it’s still attached. In St. Paul, a chimney crown can take in moisture and let it go again through a full winter of freeze-thaw cycling, and that cycle is what quietly turns a hairline crack into a failed crown, a spalled brick face, or a liner that no longer holds. The failures we see most in this city start at the top and work their way down. This guide is built backward from those failure points, so you’ll know what to look at, what to photograph, and what genuinely needs a technician. You’ll also learn where a homeowner’s seasonal check ends and a certified inspection begins.
Quick Answer
A good St. Paul chimney maintenance checklist covers three things: an annual sweep and inspection by a qualified technician, a homeowner visual check of the crown, cap, and flashing at least twice a year, and dated photographs of the flue and crown so you can compare condition year over year. The work that matters most in this climate is moisture control at the top of the chimney and liner integrity, because freeze-thaw stress finds both before anything else does.
Styles & brands we work with
- Sweep & inspection
- Caps & crowns
- Flue relining
- Masonry repair
- Gas fireplace service
Table of Contents
- Why a St. Paul Chimney Needs a Different Checklist
- The Annual Sweep and Inspection: What Should Happen
- The Crown: Your Chimney’s First Line of Defense
- Reading Brick and Mortar in a Freeze-Thaw Climate
- Caps and Screens: Stopping Animals Before Nesting Season
- Flue Obstruction: Wood vs. Gas Appliances
- Documentation: The Photos That Save You Money
- A Season-by-Season Maintenance Timeline
Why a St. Paul Chimney Needs a Different Checklist
A masonry chimney is a stack of porous material sitting in the weather. In St. Paul, that weather swings hard. Water gets into brick, mortar, and crown concrete during a thaw, then freezes and expands when the temperature drops again. Each cycle pushes the material apart a little more. Over a winter, that adds up to real movement in places a national checklist never tells you to look.
The stress lands in a predictable order:
- The crown takes the most direct weather. Its top surface puddles, its edges crack, and water wicks down into the masonry below.
- Mortar joints recede as freeze-thaw works the softer mortar out of the joint. A joint that’s flush with the brick face in fall can be noticeably recessed by spring.
- Brick faces spall – the front of the brick peels or flakes off – when trapped moisture pushes out through the face rather than drying through the joint.
- The flue liner cracks under the same cycling, plus the thermal shock of hot flue gas against cold masonry.
This is why a chimney sweep in St. Paul spends as much attention on the top of the chimney as the firebox. A sweep that only brushes the flue and never looks at the crown isn’t doing the job this climate demands. Your flue is a system, and the crown, cap, masonry, and liner all fail together when moisture is allowed to work on them.
Neighborhoods along the Mississippi bluff – think the older housing stock around Dayton’s Bluff and the West Side – add another wrinkle. Homes from an earlier era often have oversized masonry flues built for coal or early wood appliances, then converted to gas or modern wood inserts. Those flues were never sized for what’s in them now, which puts more stress on the liner and makes the annual inspection more important, not less.
The Annual Sweep and Inspection: What Should Happen
Once a year, a qualified technician should sweep the flue and inspect the entire system, from the firebox to the top of the crown. For a wood-burning appliance that sees regular use, once a year is the baseline. For a gas insert or a heating appliance, the schedule can stretch, but the inspection still happens annually because a gas flue fails differently and often silently.
Here’s what a real annual visit looks like, step by step:
- Protect the room. Drop cloths go down before anything else comes out of the truck. Sweeping a chimney is a dirty job done carefully.
- Inspect the firebox and damper for cracks, rust, and proper operation before the flue is touched.
- Sweep the flue with the right brush for the liner material and the residue type. Creosote and gas-appliance residue need different treatment.
- Run a camera up the flue to see the liner’s full length, including the joints and any offsets you can’t see from below.
- Check the top: crown, cap, screen, flashing, and the masonry above the roofline.
- Document what was found in writing, with photos you can keep.
The important part isn’t the sweeping – it’s the inspection that comes with it. What you’re paying for is a qualified set of eyes on the whole system, with evidence you can see. If a technician tells you the liner is failing, they should be able to show you the crack on a camera image or a photo. If they can’t, ask why. That’s true anywhere, but it matters in St. Paul, where an old oversized flue and a converted appliance can look fine to a casual glance and still need attention.
Some companies do the sweep and then refer you to a separate inspector. Ours handles chimney repair and inspection under the same visit, so nobody has to coordinate a second appointment after the work is done. Our technicians have up to 11 years of experience, and they’re used to reading the particular wear patterns this city produces.
The Crown: Your Chimney’s First Line of Defense
The crown is the concrete or mortar cap at the very top of the chimney, sloped to shed water away from the flue opening and the masonry below. It’s a small piece of the system and it does the most important moisture work. When it cracks, water goes straight down into the chimney.
This is the failure point most checklists skip, and it’s the one we look at first. Here’s what to check:
- Surface cracks – fine hairline cracks across the crown’s top are common after freeze-thaw cycles. Small ones can often be sealed. Wider cracks that reach the edge are a bigger problem.
- Edge breakdown – the outer rim of the crown is the thinnest, most exposed part. Flaking, crumbling, or a chipped edge there means water is already getting in.
- Separation from the flue – a gap between the crown and the flue tile lets water run down the outside of the liner.
- Slope loss – if the crown has gone flat or is pitching back toward the flue, water pools instead of running off.
- Ponding stains – dark, water-marked areas on the crown show where water sits after a rain or thaw.
Ask yourself a simple question while you’re up there: after a soaking rain, would this crown send water away, or hold it? A crown that holds water is a crown that feeds freeze-thaw damage into everything below it.
When a crown is failing, the repair path depends on how much has gone wrong. A badly deteriorated crown or a badly spalled flue interior may call for a resurfacing product rather than a full rebuild. We use HeatShield because it resists the same moisture cycling that caused the damage in the first place, and in many cases it lets us restore a failing flue or crown surface without tearing out the whole liner. That’s usually a shorter job with less disruption than a full reline, and it’s the kind of repair worth asking about before assuming the worst.
Reading Brick and Mortar in a Freeze-Thaw Climate
Brick and mortar tell you what’s happening inside the chimney if you know what you’re looking at. In St. Paul, the telltales are specific, and they differ from what you’d see in a mild climate. Here’s how to read them.
Spalling Brick Patterns
Spalling is when the face of a brick flakes, peels, or pops off, leaving a rough or hollowed surface behind. In a cold-climate chimney, spalling usually starts low on the stack – the first few courses above the roofline – and travels upward. The pattern tells you something. Spalling concentrated at the top cashes out as a crown or cap moisture problem. Spalling lower down, especially on the side facing the prevailing weather, points more toward a masonry or flashing water issue below the roofline. Either way, it’s moisture leaving through the brick face, and it doesn’t fix itself.
Mortar Joint Recession Depth
Run your eye down a vertical mortar joint. If the mortar is flush with the brick face, the joint is sound. If the mortar is recessed, you can compare it to something: a joint recessed by a small fraction of an inch is normal weathering; a joint recessed noticeably – enough that the brick faces cast shadows into it – has lost real material. In this climate, recession depth is the number that matters, because a receded joint is a joint that’s already losing the freeze-thaw fight. Deeply receded joints let water straight into the wall of the chimney.
Crown Surface Fracture Types
Not all cracks are the same, and the type tells you how urgent it is:
- Hairline surface cracks – the most common, usually caught early and sealed before they widen.
- Radial cracks – running outward from the center or flue toward the edge; they suggest the crown is moving and often indicate a deeper problem.
- Edge fractures – where the crown is breaking away at its outer rim, which is where water gets in fastest.
- Full-depth cracks – when a crack goes all the way through, the crown is no longer doing its job and needs repair or replacement.
If you see any of these patterns and aren’t sure how bad they are, a photographic record plus a professional opinion is the honest way to settle it. We’d rather tell you something can wait than sell a rebuild that isn’t needed.
Caps and Screens: Stopping Animals Before Nesting Season
A chimney cap is the cover that sits over the flue opening, and the screen or spark arrestor wraps the opening to keep animals and debris out. In St. Paul, the nesting window runs roughly February through April, so the cap and screen should be checked before that window opens, not after a bird is already inside.
Here’s what to look for:
- Displacement – a cap that’s shifted off-center, cocked, or sitting loose. Wind, ice, and snow load will move a poorly fitted cap.
- Rust or corrosion – a rusted-through screen has lost its job. It looks fine from the ground and lets everything through up close.
- Torn or missing screen mesh – raccoons and squirrels will exploit a torn screen, and birds will nest in an open flue given the chance.
- Fastener failure – screws or brackets that have worked loose, which lets the cap move in the next wind storm.
- Gaps at the base – where a cap meets the flue, a gap means water and animals both have a way in.
A properly fitted cap and flashing are a small part of the system and an outsized cause of trouble when they’re wrong. We fit caps and flashing from Gelco and Olympia Chimney because those terminations hold up in snow load and won’t walk off in a wind storm. A cap that’s sized and fastened correctly stays put through a Minnesota winter and keeps the flue opening what it should be: sealed, except for the smoke.
One caution here: climbing onto a snowy or icy roof to look at your own cap is genuinely risky. Inspect from the ground with binoculars when the roof is wet, icy, or snow-covered, and let a trained professional go up when there’s any doubt. The photos from a camera inspection will show you what the cap looks like from above without putting anyone on a ladder.
Flue Obstruction: Wood vs. Gas Appliances
Obstruction is the failure mode with the sharpest safety edge, and wood-burning and gas appliances obstruct differently. A checklist that treats them the same misses both.
Wood-Burning Appliances
A wood flue builds up creosote – the residue left behind when smoke cools on the liner walls. The residue profile has three common grades, from soft and flaky to hard and glazed, and each one is removed differently. The risk is a creosote buildup that catches fire, which produces a very hot chimney fire that can crack the liner and let heat into the structure. The obstruction risk is a chimney that’s partly blocked by buildup, a bird’s nest, or debris, which sends smoke back into the room and, in the worst case, backs carbon monoxide into the living space instead of up and out. An annual sweep is the routine check for both.
Gas Inserts and Heating Appliances
A gas flue doesn’t build the heavy creosote a wood fire does, so a gas chimney can look clean and still be obstructed. Gas appliances produce a different residue, and they can also produce corrosion on the flue components where combustion byproducts meet moisture. A gas insert that vents into a flue sized for a larger appliance, or a flue that’s deteriorated from moisture, can develop a blockage that never shows up in a wood-style sweep. That’s one reason the inspection matters even on a chimney with little visible soot.
For any appliance, the safest obstruction check happens before the heating season starts, and anything that looks like blockage or backdrafting is a call-a-professional signal. Don’t burn a fire into a flue you don’t trust. Our technicians have documentation tools that see up the flue farther than a flashlight does, and we can tell you what’s there rather than guessing.
Signs of Real Trouble
- Smoke rolling into the room when a fire is lit.
- A persistent smoky smell in the house, especially with the appliance off.
- A fire that struggles to draw or burns unevenly.
- Soot on the face of the appliance or the room walls near the hearth.
- For gas, the same signs plus a carbon monoxide alarm sounding – get everyone outside and call for help.
Carbon monoxide is the reason gas-appliance flues get treated as seriously as wood flues. It’s colorless and odorless, and an obstructed gas flue is one way it ends up in the wrong place. Don’t test that with a fire.
Documentation: The Photos That Save You Money
Here’s a habit that costs nothing and pays for itself more than once: photograph the flue and the crown every year, and keep the images with the date. It sounds like busywork until the day you need to prove a chimney was sound when a house changed hands, or answer an insurance question about when a problem started.
A simple documentation routine looks like this:
- Get a full set of inspection photos each year – camera images of the flue liner along its length, and a photo of the crown surface and edges.
- Date and label every photo – a filename with the month and year, kept in a folder you can find.
- Keep the written inspection report – the condition notes and any recommendations, in writing.
- Compare year over year – a crack that was hairline last year and wider this year tells you how fast it’s spreading, which is a more useful question than “is there a crack?”
- Photograph any repair before and after – so the record is complete.
This is why an inspection that documents condition in writing is worth as much as the sweep. The report and the photos are usable for real estate transactions and insurance requirements, and they give you the evidence to challenge a disputed repair claim. If someone tells you a liner needs replacing, the comparison photos from previous years tell you whether the condition is new or has been there a while, and help you tell a genuine problem from an eager upsell. We’d rather you had the pictures to ask the hard question.
Fireplace and furnace appliances are, at bottom, life-safety infrastructure. A dated record of the system’s condition is the most honest way to know what changed, when, and why.
A Season-by-Season Maintenance Timeline
St. Paul has four distinct seasons, and each one has a different job for a chimney owner. Here’s the calendar we recommend, built around this climate.
Before the heating season (late summer to fall)
- Book the annual sweep and inspection before the first fire of the season, while there’s time to schedule any repair.
- Do the fall visual check from the ground: cap, screen, crown edges, any fresh spalling or staining.
- Replace or check the batteries on carbon monoxide alarms and smoke detectors.
During the heating season
- Keep the firebox clear of ash and debris.
- Watch for smoke rolling back, a weak draw, or a sudden smoky smell – any of these means stop and call.
- After a snow load or ice storm, check the cap from the ground for displacement.
Late winter to spring
- Before the February-April nesting window, check the cap and screen for any tear or gap.
- Do a spring visual check for new spalling, recession, or crown cracks after the freeze-thaw season.
- Book any repair that was recommended in the fall but deferred.
Summer
- Get repairs done in the warmer months, when a full reline or crown work is easier to schedule.
- Review the prior year’s inspection photos against this year’s to check for movement.
A chimney system doesn’t take a season off. The fire is off in summer, but the moisture cycling continues, which is why the spring check matters as much as the fall one. That’s the part of the annual cycle most homeowners skip, and it’s the part that catches a cracked crown before the next winter drives water into it.
Common Mistakes to Avoid
- Skipping the crown entirely. The top of the chimney takes the most weather damage in this climate, and a checklist that stops at the flue misses the failure that starts everything else. Look at the crown every year.
- Checking the cap only after nesting season. In St. Paul, animals get into open or torn screens from roughly February through April. Check the cap and screen in late winter, before the window opens, not after something’s already inside.
- Treating a gas flue like a wood flue. A gas appliance can have a clean-looking, empty flue and still be obstructed, and its residue profile is different. Don’t assume a low-soot chimney is a safe one.
- Climbing an icy or snowy roof to “just take a look.” The crown and cap can be assessed from the ground with binoculars, and the camera inspection shows the rest. Roof inspections belong to a trained professional, and a fall is far more dangerous than a hairline crack.
- Throwing away the inspection report. The written report and photos are the record that protects you on a resale or an insurance question. File them, don’t recycle them.
- Believing a repair quote with no evidence. If a technician recommends a liner or masonry job without a camera image or photo you can see for yourself, ask to see the evidence before deciding. Honest diagnosis always shows its work.
- Running the annual sweep differently every year. One year it’s a brush, the next it’s a quick eyeball, and the third year it’s skipped. Consistency is what produces the year-over-year comparison that actually tells you something.
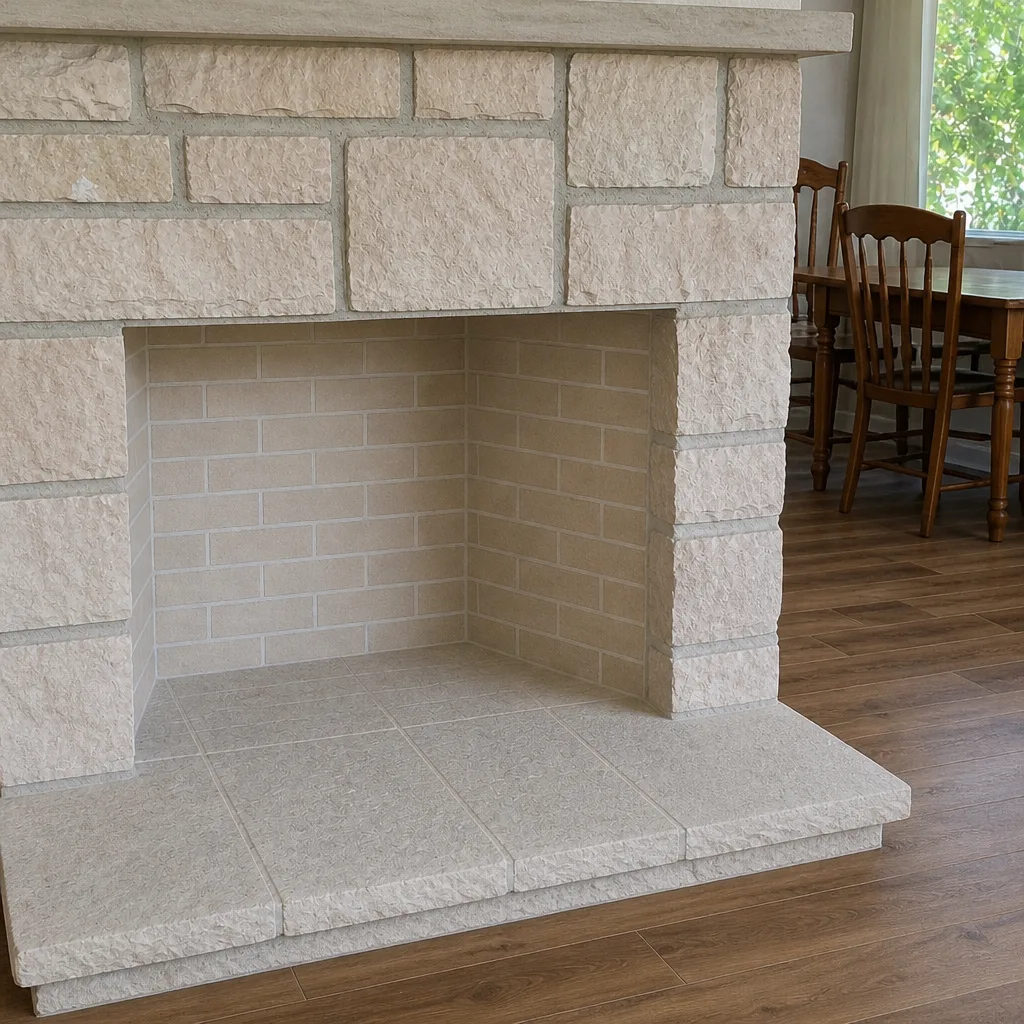
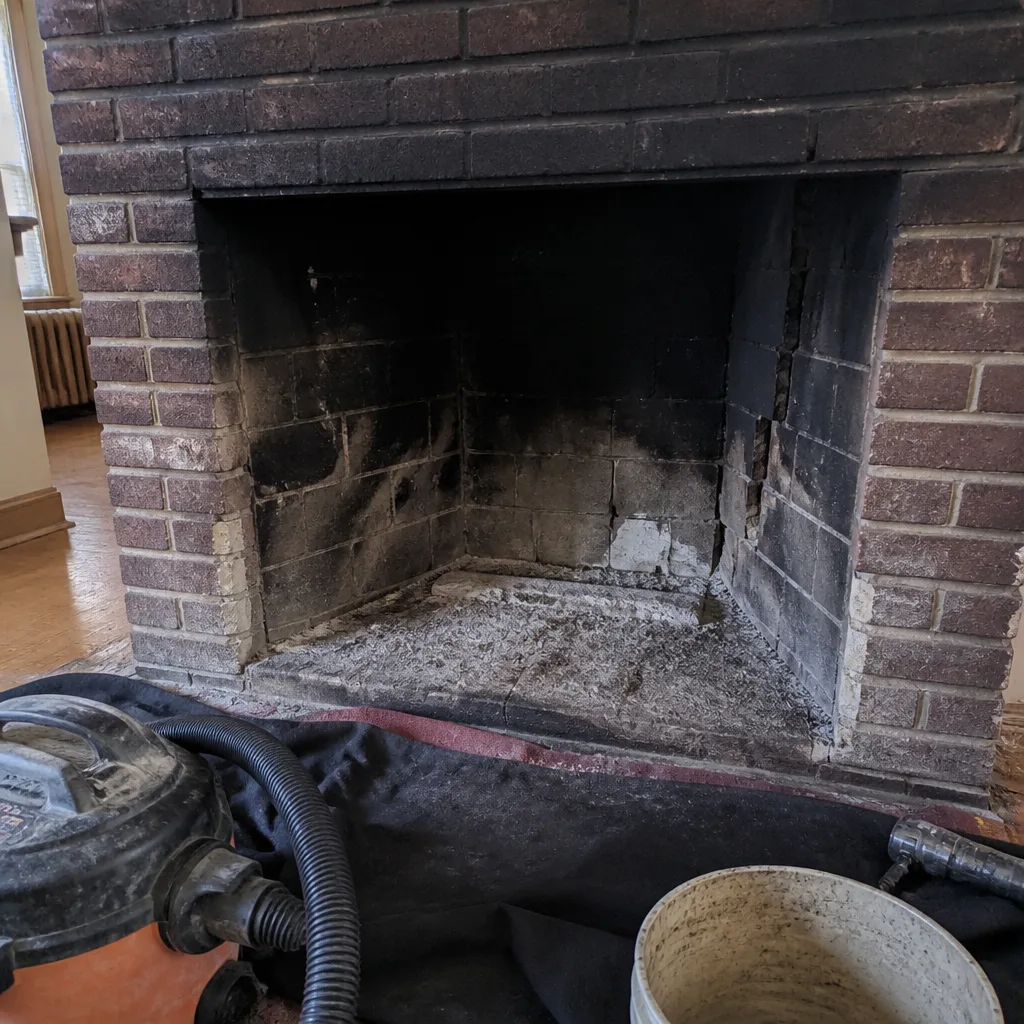
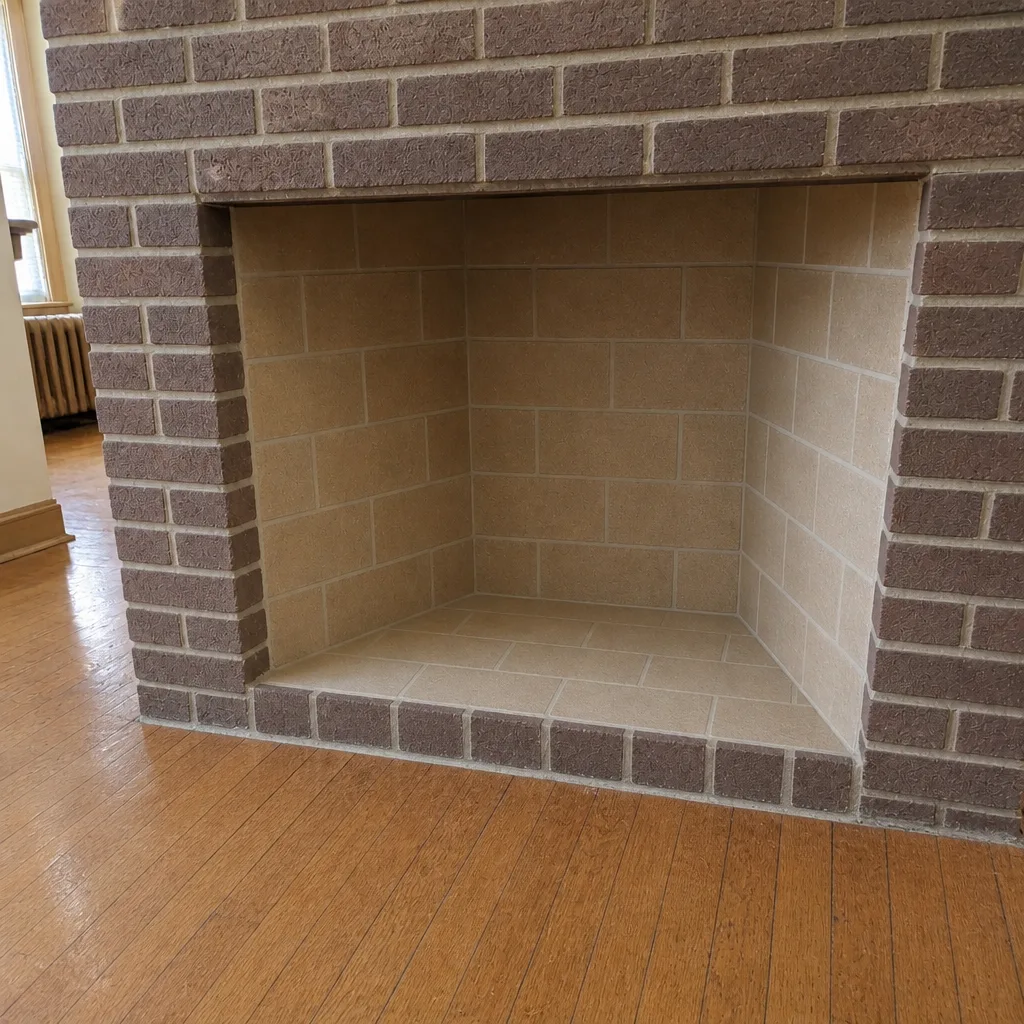
See the difference
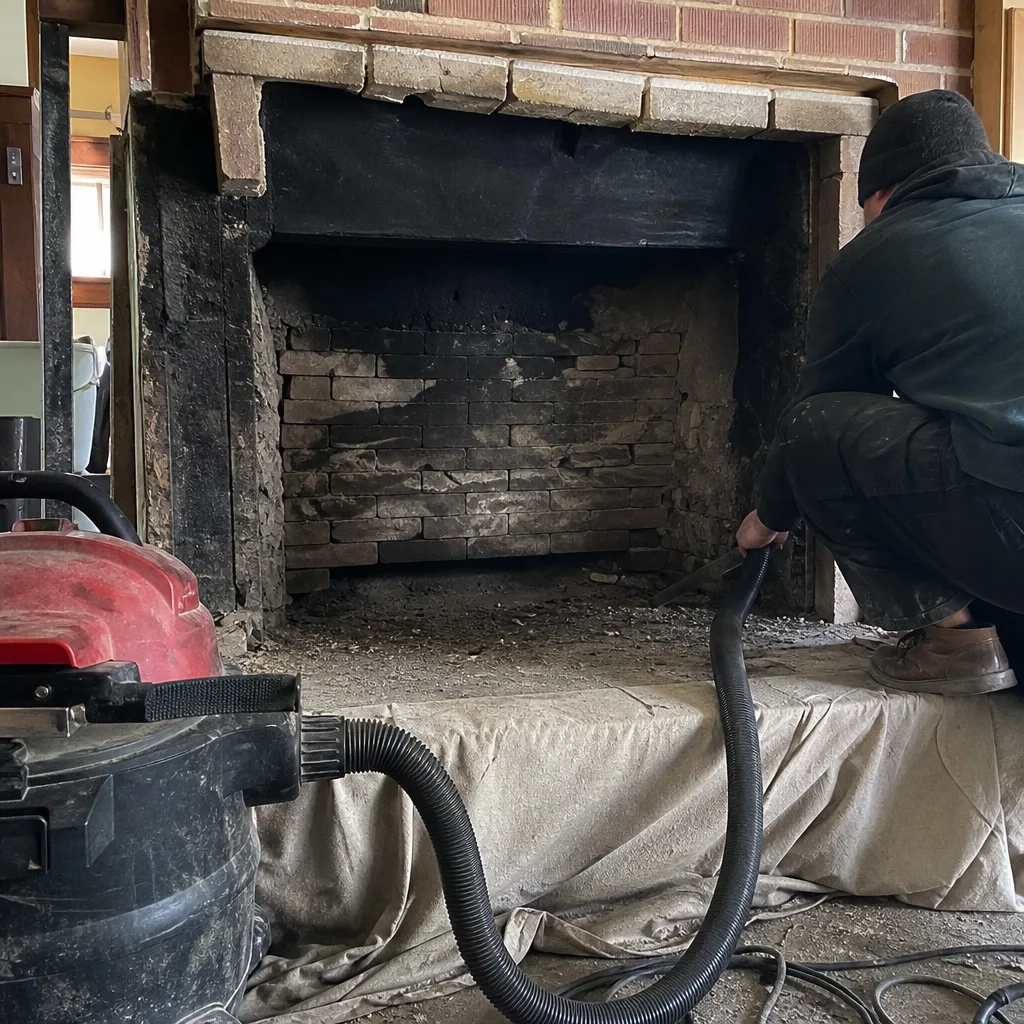 Before
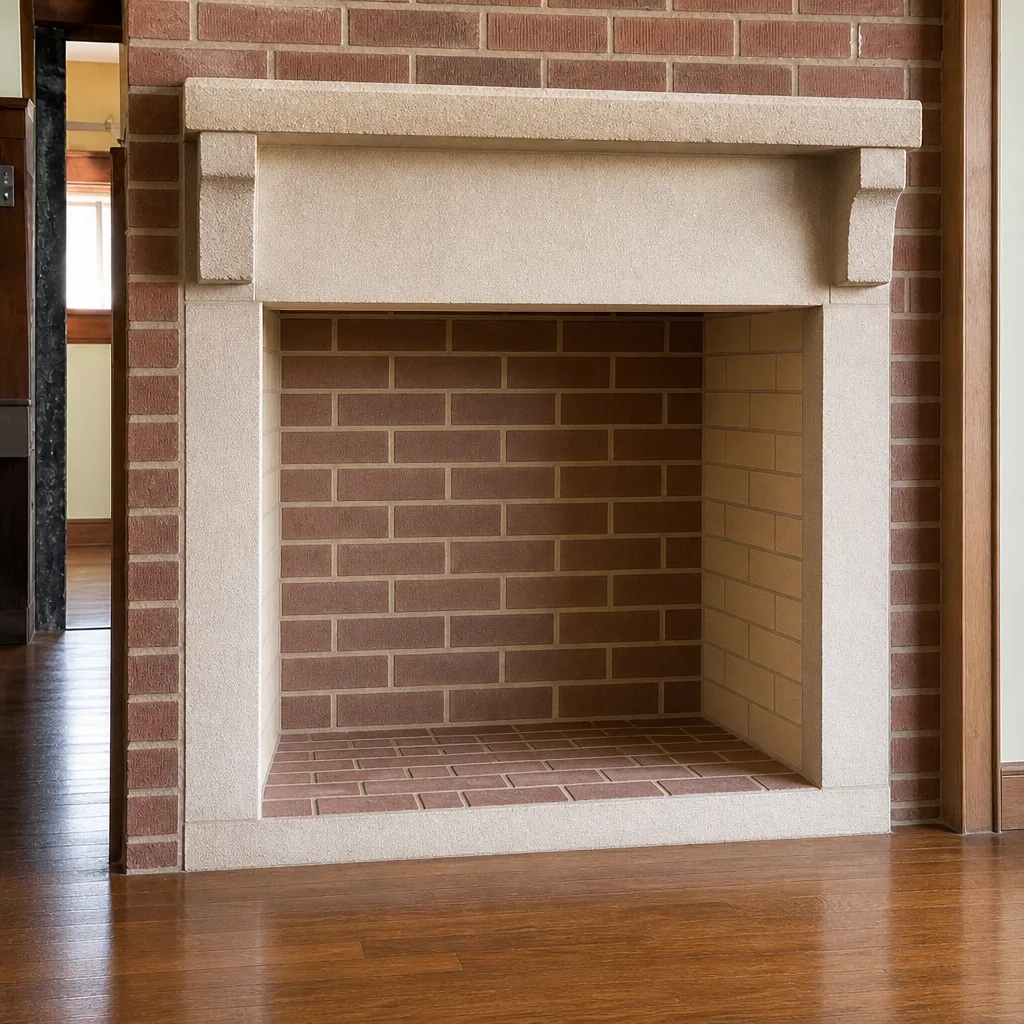 After
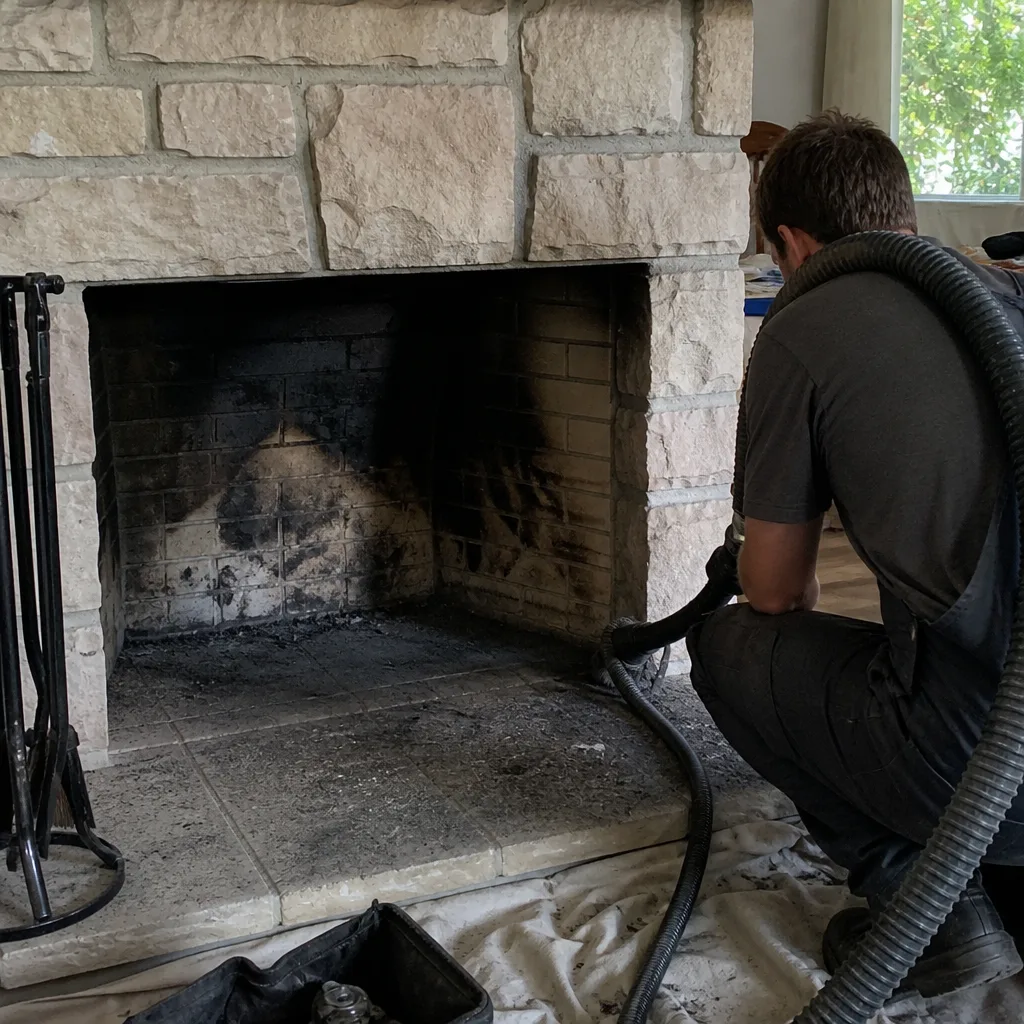 Before
 After
 Before
 After
When to Call a Professional
Call a professional when you see any of the following: a crack or separation in the crown; spalling brick or deeply recessed mortar joints; a displaced, rusted, or torn cap; smoke rolling into the room; a weak draw; a smoky smell in the house with the appliance off; or any sign of obstruction in a wood or gas flue. Call with the same urgency if a carbon monoxide alarm sounds – get everyone outside first, then call. And call before the heating season even if you see nothing, because a hairline crack from last winter won’t look serious from the ground and can get worse through a single freeze-thaw cycle.
Tundra Chimney Sweep handles sweeping, repair, and inspection for homes across St. Paul, and our technicians have up to 11 years of experience reading the specific ways this climate wears chimneys down. Free estimates in St. Paul – call (866) 942-6061 to book a visit or ask what a camera inspection will show.
Frequently Asked Questions
A wood-burning chimney should be swept and inspected once a year, or sooner if it’s used heavily. A gas appliance still needs an annual inspection even though it doesn’t build the same creosote. In this climate, the annual visit is as much about inspecting the crown and liner for freeze-thaw damage as it is about cleaning the flue.
We don’t publish a flat price because the estimate is set per job by a written estimate after we see the system. What you get for it is a sweep, a camera inspection of the flue, and a written report with photos you can keep – the evidence that lets you decide what, if anything, actually needs work. Call (866) 942-6061 for a free estimate.
Only if the inspection shows the liner has actually failed. A crack or separation on a camera image is the evidence that settles it, and a resurfacing option may be available short of a full reline. We use HeatShield because it can restore a deteriorated flue surface without tearing out the whole liner, and we’ll show you what we found before recommending anything.
Small problems get a full winter of freeze-thaw cycling to grow. A hairline crown crack widens, water gets into the masonry, and a small repair turns into a larger one. On a wood flue, skipped sweeping lets creosote build to a level that raises the chance of a chimney fire. None of that happens overnight, which is exactly why the annual check catches it in time.
Late summer to early fall is the ideal window, before the heating season and while there’s time to schedule any repair the inspection turns up. If you’ve already started burning, book as soon as you can. Winter repairs are harder to schedule than summer ones, so a spring inspection that catches a crown problem early is the second-best time.
You can and should check the parts you can see safely from the ground – the cap, screen, crown edges, and any fresh spalling or staining on the brick. What you can’t do from the ground is see up the flue, and a camera inspection needs the right tools and a trained eye. The homeowner check is a good habit; it’s not a substitute for the annual professional inspection.
The Bottom Line
The right maintenance checklist for a St. Paul chimney starts at the top. Control moisture at the crown to save the masonry below it. Watch for spalling and mortar recession that tell you freeze-thaw is winning. Keep the cap and screen intact before nesting season. Treat wood and gas flues as different problems. And photograph the flue and crown every year, with dates, so you have a comparison baseline when you need it. An annual sweep and inspection ties it all together, and nothing gets recommended without evidence you can see. Call (866) 942-6061 for a free estimate. We answer 24/7. Fast dispatch from 7am to 7pm, Sunday through Friday.
Contact Tundra Chimney Sweep today for a sweeping, repair, or inspection visit in St. Paul. We work with professional-grade product lines including DuraFlex, HeatShield, Gelco, Olympia Chimney, Famco, and Copperfield, and we treat every job as a cold-weather system that has to hold up through a full heating season. Call (866) 942-6061 to book – free estimates, and a written report with photos when the work is done.
Written by the team at Tundra Chimney Sweep.