
Last updated November 16, 2026
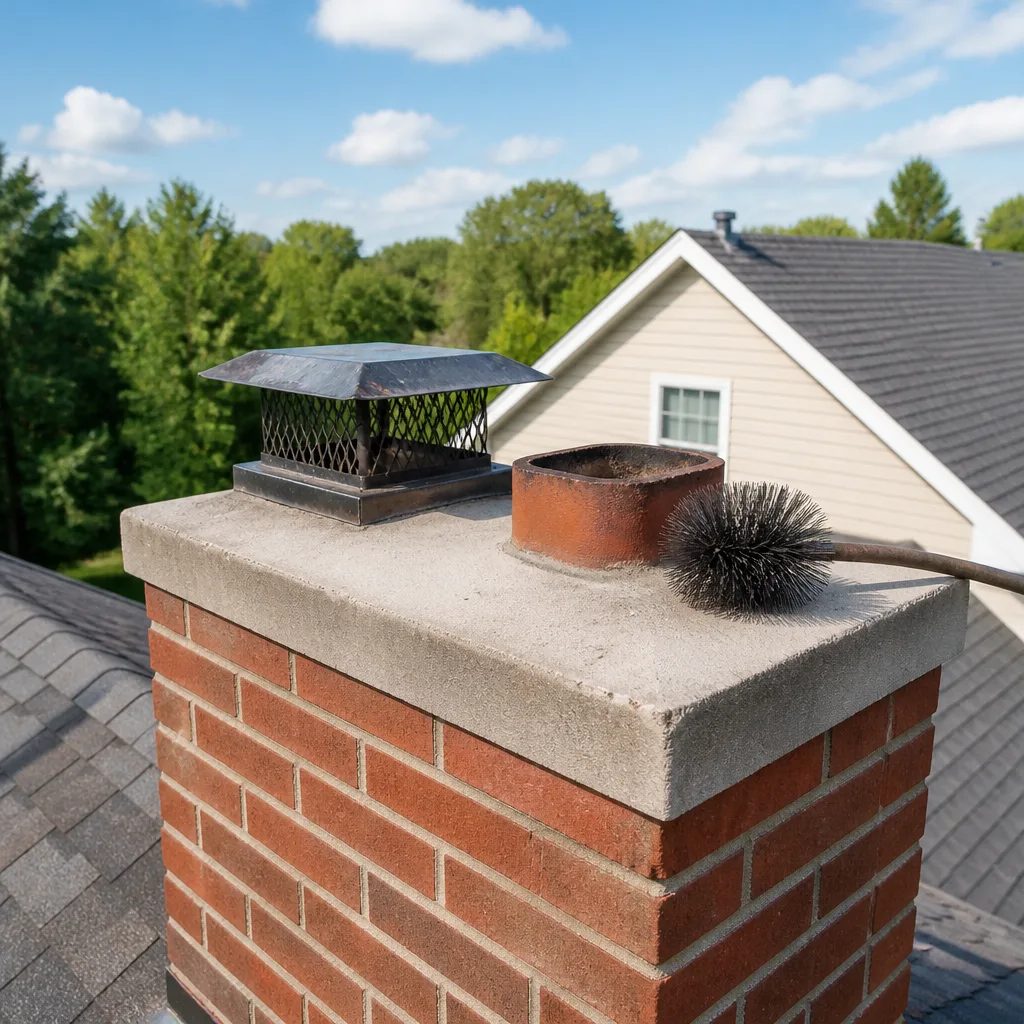 Sweep & inspection
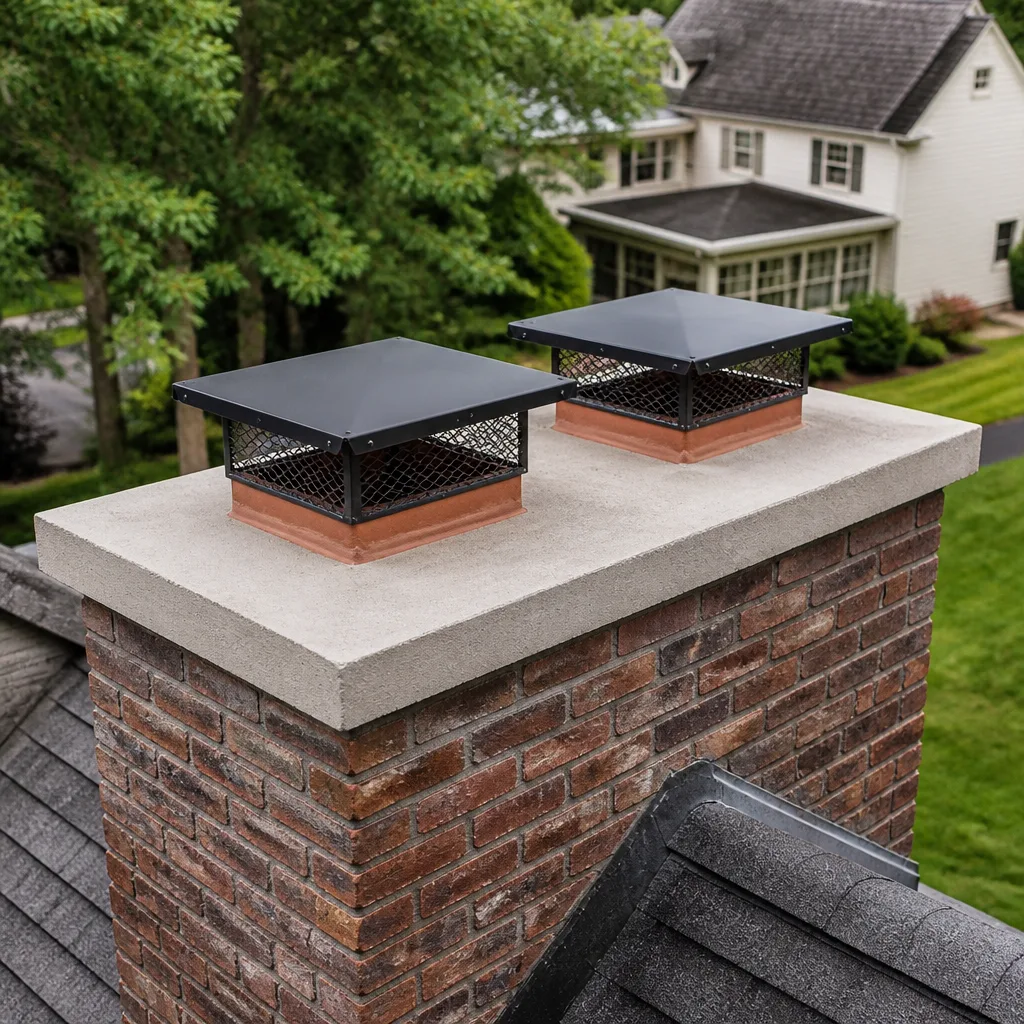 Caps & crowns
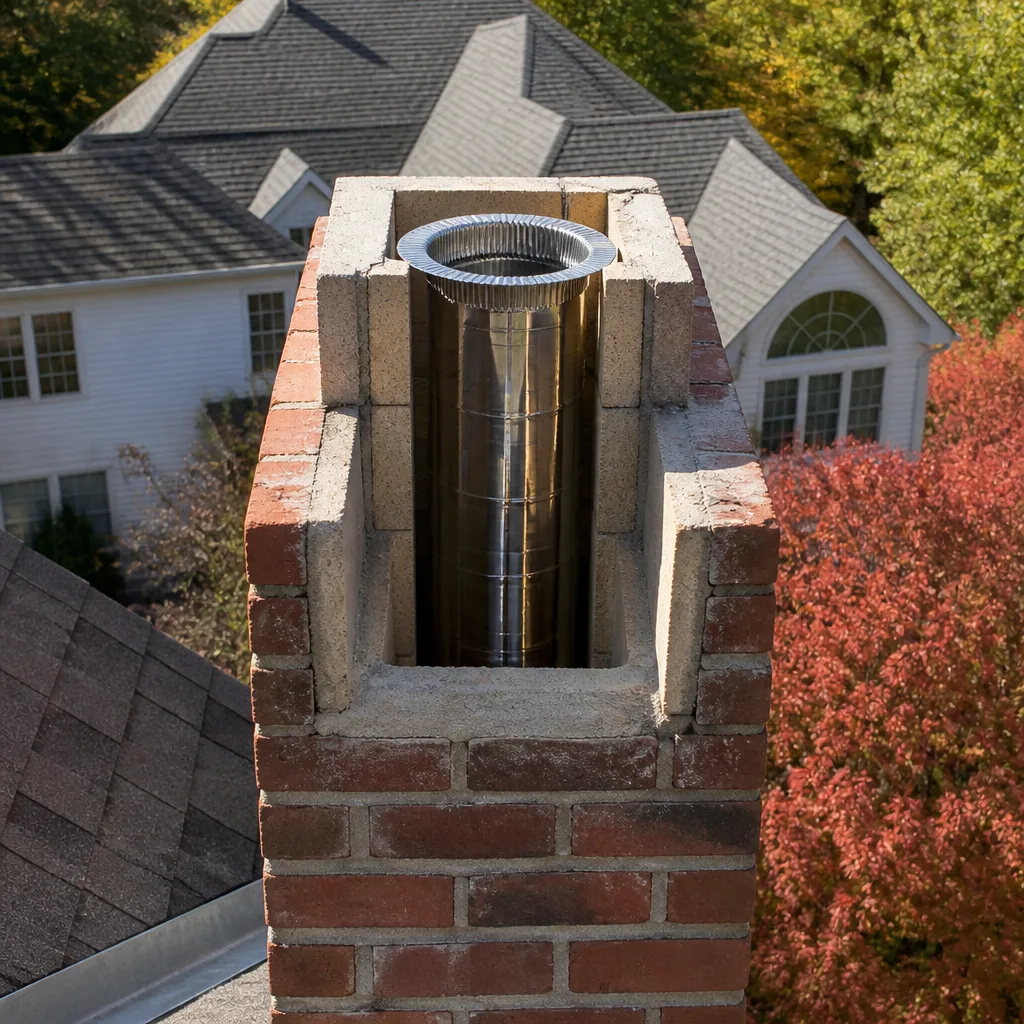 Flue relining
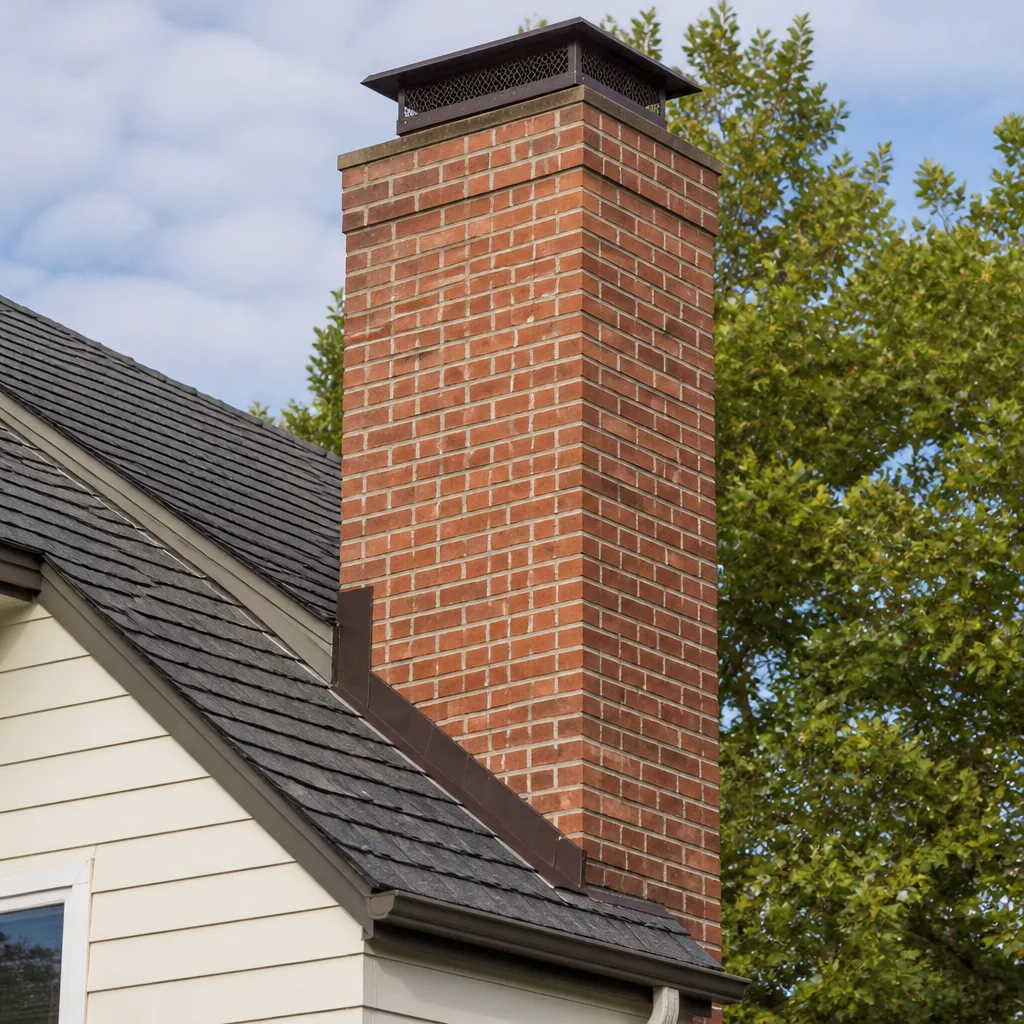 Masonry repair
 Gas fireplace service
Level 1 sweep and inspection to the NFPA 211 annual standard - flue, crown, cap, and flashing checked and photographed
Chimney sweep logs do not sweep chimneys. They loosen some creosote - which then falls where a brush and vacuum still have to collect it.
Chimney Sweep Troubleshooting in St. Paul: Common Problems and How to Fix Them
A smoky fireplace in January isn’t always a dirty flue. In St. Paul’s cold-climate stack conditions, it’s just as likely a pressure problem caused by a too-tight house, and no amount of sweeping fixes that. Homeowners spend money on sweeps that don’t touch the real cause when the symptom points somewhere else entirely. This guide breaks chimney trouble into the four failure modes that actually produce it: draft failure, liner degradation, blockage, and negative pressure. Each one has distinct symptoms you can read from the firebox or the roof line. By the end you’ll know which failure mode you’re dealing with, what a technician checks first, and how to avoid paying for the wrong repair.
Quick Answer
Most chimney problems in St. Paul trace back to one of four root causes: draft failure from a cold or undersized flue, liner degradation from moisture and heat cycling, an obstruction in the flue, or negative pressure from a house that’s too airtight. Each has different symptoms, and each needs a different fix. A sweep clears creosote. It does not fix pressure, liner damage, or a collapsed cap. Getting the failure mode right before booking work is the whole game.
Styles & brands we work with
- Sweep & inspection
- Caps & crowns
- Flue relining
- Masonry repair
- Gas fireplace service
Table of Contents
- The Four Failure Modes Behind Almost Every Chimney Problem
- How Minnesota Cold Drives Stack Effect and Winter Backdrafting
- The Diagnostic Sequence: Cap First, Firebox Last
- Signs That Point to Liner Failure, Not Just Creosote
- Negative Pressure: The Problem Sweeping Can’t Solve
- What You Can Diagnose Yourself and What Needs a Camera
- Why Backdrafting Spikes After Weatherization Upgrades
- Sweep, Repair, and Inspection: Why the Flue Is One System
The Four Failure Modes Behind Almost Every Chimney Problem
When a homeowner calls about smoke, smell, or a fire that won’t draw, we start by sorting the complaint into one of four categories. That sorting step is more useful than any single diagnostic tool. Get the category right and the fix usually falls into place. Get it wrong and you can sweep a flue three times without changing the symptom.
Draft failure means the flue isn’t pulling air the way it should. A fire lights but smolders. Smoke rolls out the top of the firebox instead of rising. Cold mornings are worse than mild afternoons. The stack is cold, the flue is oversized for the appliance, or the fire is fighting a column of dense cold air sitting in the chimney.
Liner degradation means the clay tile or metal liner inside the chimney has cracked, spalled, or developed gaps at the joints. This shows up as debris in the firebox, rust on metal components, or water staining where it doesn’t belong. It’s a structural problem, not a cleaning problem.
Blockage means something is physically in the way: a nest, a collapsed tile shard, a cap that failed and dropped screen fragments down the flue, or heavy creosote glazing. A blocked flue can push carbon monoxide back into the home, which is why blockage is the one failure mode we treat as an urgent safety issue.
Negative pressure means the house is pulling harder than the chimney is. The fire draws when a window is cracked and dies when it’s closed. Bathroom fans, kitchen hoods, and a tight building envelope all compete with the chimney for air.
Four modes, four different fixes. A chimney sweep addresses creosote and light blockage. It cannot fix draft design, cannot repair a cracked liner, and cannot rebalance a house under negative pressure.
How Minnesota Cold Drives Stack Effect and Winter Backdrafting
Stack effect is the engine that makes a chimney work. Warm air inside the flue is lighter than cold air outside, so it rises, and the firebox pulls fresh air in behind it. The bigger the temperature difference between inside and outside, the harder the pull. In St. Paul, that difference is enormous through January and February, and it works both ways.
A cold-start problem is the classic cold-climate pattern. The house is warm, the masonry chimney mass is 15 degrees, and the flue is full of dense cold air that has to be pushed out before the fire can draw. The fire smolders and smokes for ten or fifteen minutes while the flue warms. This is normal behavior, not a defect, and it gets worse as the outdoor temperature drops. An interior chimney warms faster than one on an exterior wall, and a masonry chimney with a properly sized flue warms faster than a wide one.
Once the flue is warm, draft should be reliable. When it isn’t, cold weather magnifies a problem that was mild in October. A hairline gap at a flue tile joint that passed air slowly in the fall can pull in measurable cold air when the outside temperature sits near zero, and that cold air fights the fire. Winter is when undersized flues reveal themselves, when capped or heavily screened terminations start to ice, and when the fireplace no longer draws with the doors closed.
We specify liners and terminations for cold-weather performance rather than mild-condition tolerances. A DuraFlex stainless liner, sized to the appliance and insulated properly, keeps flue gas warm all the way to the top. Insulation matters more in St. Paul than in a warm state, because flue gas that cools below the dew point on the way up deposits creosote and corrosive condensate on the liner wall. That’s a materials-and-sizing decision, not a sweeping question.
The Diagnostic Sequence: Cap First, Firebox Last
A trained technician works top-down, and the order matters. Starting at the roof catches the problems that explain everything else, and ending at the appliance prevents the most common misdiagnosis: blaming the firebox for a problem that started at the termination.
Here’s the sequence we follow on a St. Paul inspection:
- Inspect the chimney cap and termination. Is the cap intact, screened, and clear? A tilted or missing cap lets water in, lets birds and squirrels nest, and lets rain run down the flue wall. Famco and Gelco caps and flashing components are what we specify when a termination needs replacing, because a properly fitted cap is the single cheapest protection against water and animal intrusion.
- Check the crown and the exterior masonry. Look for cracks, spalling brick faces, and rust streaks from the flashing. Water entry is the leading cause of liner deterioration in cold climates, and the crown is where most water enters.
- Run a camera down the flue. Confirm the liner condition, joint alignment, and any offsets. Real camera footage is the difference between guessing and knowing.
- Inspect the smoke chamber and damper. Rust on the damper and streaking below it point to moisture that should not be there. A warped or stuck damper throws off draft and needs to be evaluated in context.
- Look inside the firebox. Debris on the firebox floor, spalling mortar chips, and creosote glazing tell you what’s coming from above.
- Evaluate the appliance last. Damper position, firewood condition, and burner settings are checked after the flue has been ruled in or out. When the flue is sound, an appliance or operating-practice problem is far more likely to be the cause.
This order is one reason a written inspection report is worth what it costs. A field report that says “cap missing, water staining in flue at 6 feet, cracked tile at the offset” tells you precisely where the failure is and what needs to be done.
Signs That Point to Liner Failure, Not Just Creosote
Creosote is a coating. Liner failure is a structural problem. The two look similar from a distance because both can produce smoke and smell, but the signs are distinct if you know what you’re looking for.
What points to creosote only:
- Heavy, sticky, or flaky dark coating on the flue walls that comes off with a proper sweep
- Smoke and smell that improve after a cleaning
- No debris falling into the firebox
What points to liner failure:
- Spalling mortar debris in the firebox. Small chunks of mortar or clay tile fragments that fall into the firebox after a fire are the strongest single indicator of a failing clay liner. The debris is coming from above.
- Rust streaking on the damper or smoke chamber. Clay liners don’t rust, but a metal damper beneath a wet flue does. Rust means water is moving through the system and reaching metal components that should stay dry.
- Efflorescence on the exterior. That white, powdery bloom on the chimney’s outer brick is salt pushed out by water vapor. It means moisture has been moving through the masonry, and the liner is a likely source.
- Cracked or separated flue tiles. Visible gaps at tile joints, or misaligned tiles at a flue offset, mean combustion gas can escape into the masonry structure.
- Pieces of tile in the firebox after sweeping. A sweep that dislodges tile shards from the flue wall is telling you the liner is already compromised.
When a clay liner has eroded but the liner isn’t fully shot, a HeatShield resurfacing application can restore the flue without pulling it out. That’s a repair path worth knowing about because it can cost less than a full reline and preserves the existing structure. When the liner has failed outright, or when a metal liner has burned through, a DuraFlex stainless system is what we specify. Either way, camera footage should back up the recommendation. If a technician can’t show you the problem on a screen, you’re within your rights to ask for a second opinion.
Negative Pressure: The Problem Sweeping Can’t Solve
Negative pressure is the most under-diagnosed chimney problem in St. Paul, and it’s the one homeowners most often pay to sweep away without result. The symptom pattern is unmistakable once you know it: the fireplace draws well with a window open and dies with it closed, or it works in fall and fails in deep winter when the furnace runs hardest.
What’s happening is that the house is a better exhaust fan than it is an intake. Range hoods, bath fans, dryers, and furnace flues all pull air out. A tight building envelope means the replacement air has to come from somewhere, and the chimney is the path of least resistance. The result is a flue that drafts in reverse: air flows down the chimney into the house instead of up and out. Smoke doesn’t just smell bad, it comes into the room.
Common tells for negative pressure:
- The fire burns fine until the furnace kicks on
- Smoke smells strongest in the room on windy days or when the bath fan is running
- Cold air drafts down the chimney when no fire is lit
- Opening a nearby window “fixes” the fire
- Backdrafting showed up after a remodel or new windows
The solution isn’t more sweeping. It’s usually one of these: a properly sized and insulated liner that keeps the flue gas warm and the draft strong; a combustion air supply sized for the appliance; or a top-sealing damper that closes the flue when the fireplace is out of service and prevents cold air from rolling down the stack. The right answer depends on the house and the appliance, which is why we check the appliance last but check it carefully. For homeowners with a gas insert or a furnace flue tied into the same chimney, the calculation is different again, and we recommend a proper appliance evaluation alongside the chimney inspection. A HeatShield resurfacing or DuraFlex reline can help the flue hold temperature, but neither fixes the underlying pressure imbalance on its own.
What You Can Diagnose Yourself and What Needs a Camera
Some chimney problems are diagnosable from the living room. Others need a camera and a trained eye. Knowing which is which saves money and prevents a misdiagnosis from turning into the wrong repair.
What you can check yourself, safely, without climbing anything:
- Cold-start behavior. Does the fire draw after fifteen minutes with a properly built fire and dry wood? If yes, draft is probably fine and the smoke was a cold-flue issue.
- The window test. Open a nearby window a couple of inches and see whether the fire improves. If it does, you’re dealing with pressure. If it doesn’t, the issue is likely in the flue or the appliance.
- The firebox floor. After sweeping, look for debris: mortar chips, tile shards, or creosote flakes. This is a strong liner-failure tell.
- The damper. Check that it opens freely and closes fully. Look for rust streaking on the damper and smoke chamber.
- The exterior, from the ground. Use binoculars to check the cap condition and to spot efflorescence or mortar erosion on the chimney’s outer brick.
- The smell pattern. Note whether the smoky smell is strongest on cold, windy days, during furnace cycles, or after a fire. The pattern points to the failure mode.
What needs a professional with a camera: visible flue tile condition, joint alignment, hidden crack locations, inside-of-cap integrity, smoke chamber condition, and the flue’s interior at every offset. A Level 2 inspection with a camera is the only way to confirm liner failure definitively. Treat any recommendation to reline a chimney without camera footage with skepticism. You’re entitled to see the problem before you pay to fix it, and if you’re not shown, ask.
High-tension components, steep-roof access, and combustion safety are not DIY territory. If the diagnosis points to a roof-level or flue-interior issue, that’s what a trained technician is for.
Why Backdrafting Spikes After Weatherization Upgrades
Weatherization makes houses quieter, warmer, and cheaper to heat. It also makes them tighter, and tight houses create chimney problems that didn’t exist before. In St. Paul, this pattern is common enough that we treat weatherization history as a diagnostic question on every negative-pressure call.
What changes after new windows, added insulation, or weatherstripping:
- The house loses its unintentional air leaks, and the chimney becomes a larger share of the exhaust path
- Exhaust fans pull harder against a sealed envelope
- Cold air descending the flue is no longer replaced by air leaking through gaps
- A fireplace that “worked fine for years” suddenly smokes on windy mornings
The chimney didn’t change. The house did. When we inspect a property with recent weatherization, we’re looking for the fix that addresses the pressure balance: combustion air for the appliance, a top-sealing damper, a properly sized and insulated liner that keeps the stack warm enough to pull against a tighter house. Sometimes all three. The fix is specified for the house as it stands now, not the house as it was when the fireplace was built. That’s what we mean when we say the work is built to last the season: it has to hold up to a St. Paul winter with the furnace running hard and the windows sealed tight, not just a mild October evening.
A second category of post-weatherization problem is moisture. A tight house with a wide temperature differential across the chimney can develop more condensation on the interior of the masonry flue. That’s why we look at the liner at the same time we look at the pressure, because the two problems compound. A failing liner in a tight house gets worse faster.
Sweep, Repair, and Inspection: Why the Flue Is One System
The most common structural mistake in chimney maintenance is treating sweeping, repair, and inspection as three separate purchases handled by three separate visits. They aren’t. Your flue is a system, and a problem in one part affects every part above and below it. A sweep clears the flue. A repair fixes what the sweep revealed. An inspection documents the whole thing so a homeowner, an insurer, or a buyer can see what’s actually there.
How the three connect in practice:
- A chimney repair should always follow an inspection that identified the problem with evidence. Rust on the damper, spalling mortar in the firebox, or efflorescence on the exterior are all findings, not guesses.
- A sweep should never be booked without a look at the cap and the crown, because those two components cause a large share of the water problems that erode liners over time.
- An inspection should include the appliance, the flue, and the termination. Skipping the appliance is how negative-pressure problems get missed.
- Photographic documentation matters because it makes the recommendation verifiable. You can look at the picture and see the crack, the water stain, or the missing cap for yourself.
We keep the sweep, repair, and inspection scope together under one roof for exactly this reason: coordination is where things fall through the cracks. If a repair gets done and the follow-up inspection gets forgotten, a homeowner can go a full winter without knowing whether the repair held. Bringing it back under one scope means the field report is current and the documentation is complete, whether you need it for your own records, for a real estate transaction, or for an insurance requirement.
We use HeatShield for resurfacing work because it lets us restore a deteriorated flue without demolition. We use DuraFlex liner systems on the jobs that need a full reline, including oil-to-gas appliance conversions and oversized masonry flues that sweep-only companies usually decline. Olympia Chimney and Copperfield components fill in the rest of the system where they’re the right fit. The brand isn’t the point. The point is that the specified component matches the failure mode and the house, which is what determines whether the fix holds through a real heating season. When you compare options for Tundra Chimney Sweep, what we want you to compare is diagnosis, materials, and documentation, not the line item at the bottom of the estimate.
Common Mistakes to Avoid
- Booking a sweep to fix a smoke problem. If the smoke only shows up on cold mornings or with the furnace running, the flue is already clean enough; you’re looking at pressure, not soot. Sweeping won’t touch it.
- Accepting a reline recommendation without seeing the footage. Liner failure is real, but so is the upsell. Ask for a photo or video of the problem. A technician who can’t show you the crack doesn’t have the evidence to justify the work.
- Assuming “it worked last year” means nothing changed. New windows, added insulation, a new kitchen hood, or a new furnace can all tip a house into negative pressure. Weatherization history is diagnostic history in St. Paul.
- Letting a missing or damaged cap sit through the winter. A failed cap lets water into the flue and animals into the chimney. In a climate that freezes, a wet liner that then freezes is a liner that spalls. Replace a bad cap promptly.
- Ignoring efflorescence on the exterior. White bloom on the chimney’s brick is a moisture signal, not a cosmetic issue. When it shows up, it’s worth a proper camera inspection before winter.
- Running a smoky fire for “one more season.” Smoke smell in the living room is combustion gas. Carbon monoxide is odorless, and a blocked or compromised flue can push it into the house. If you smell smoke that wasn’t there before, stop using the fireplace until it’s checked.
- Skipping the inspection after the repair. A repair without a documented follow-up leaves you guessing. The inspection is what confirms the fix is holding and what gives you paperwork for later.
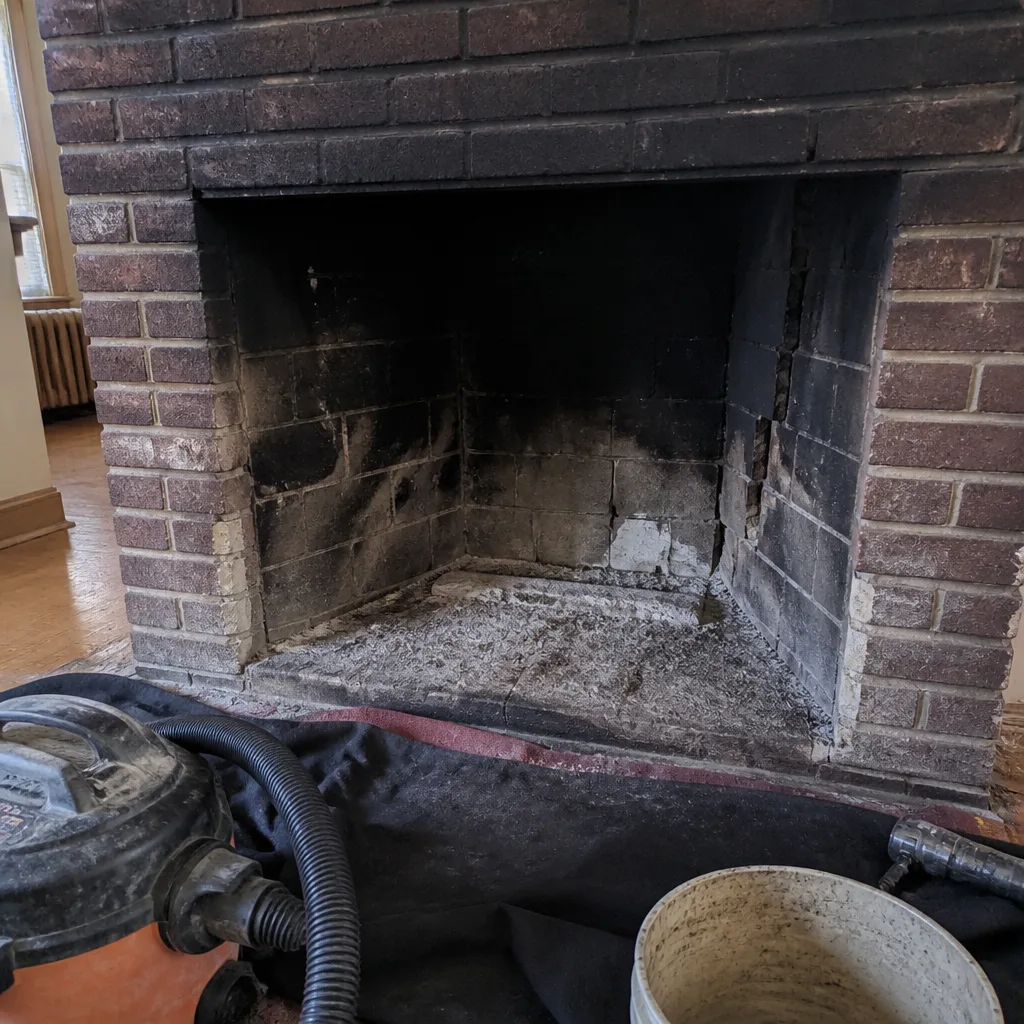
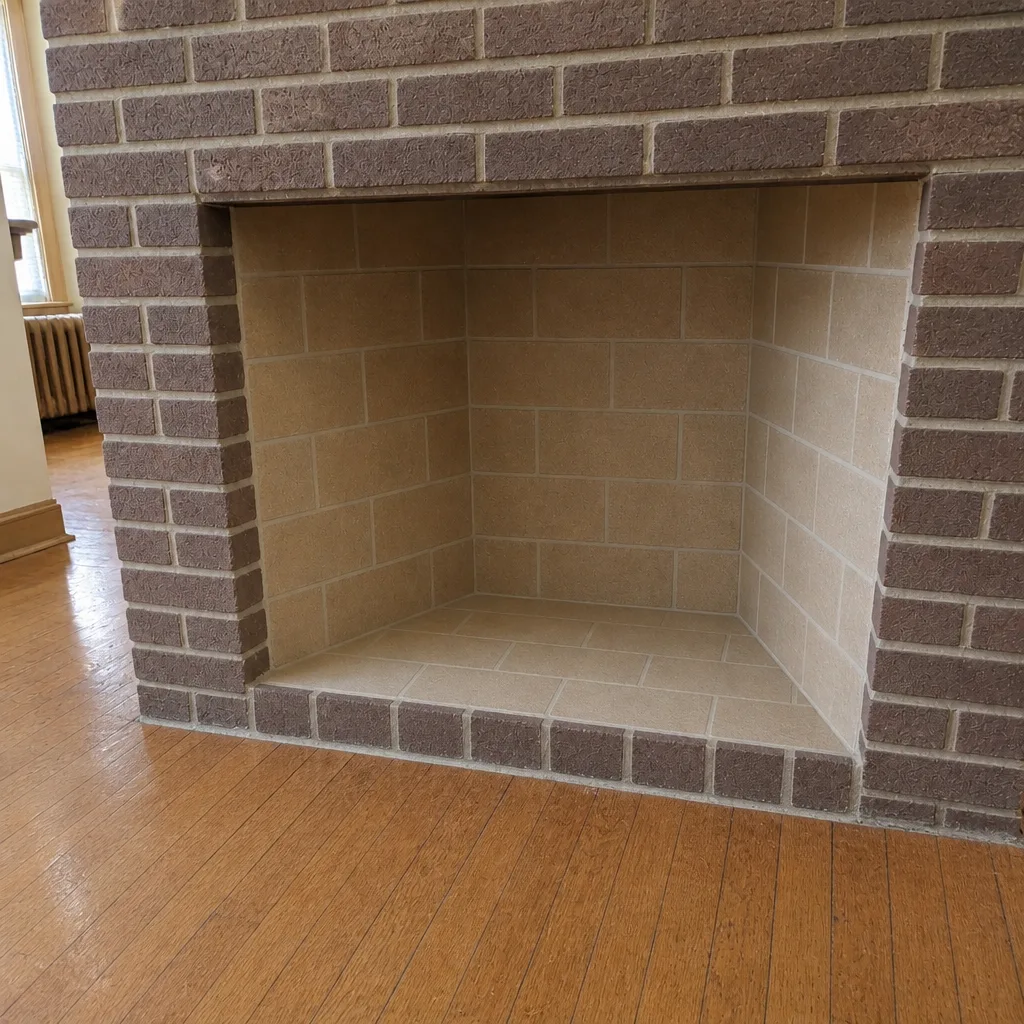
See the difference
 Before
 After
 Before
 After
 Before
 After
When to Call a Professional
Call a professional when a symptom has a possible safety consequence: smoke that smells in the living room, a firebox full of debris after sweeping, a carbon monoxide alarm that went off, or a flue with visible damage from the ground. Call when the fix you tried didn’t change the symptom. And call when the diagnosis itself is the question: a cold-climate chimney has failure modes that reward a trained technician’s eye, and the wrong repair can cost more than the right diagnosis.
Our technicians have up to 11 years of experience working on chimney systems in St. Paul and around it, and they diagnose top-down with a camera and a written report. Tundra Chimney Sweep offers free estimates in St. Paul. Call (866) 942-6061. We answer 24/7. Fast dispatch from 7am to 7pm, Sunday through Friday.
Frequently Asked Questions
A fire that smokes on cold mornings but works fine later in the day is usually suffering from a cold-flue draft failure. The dense cold air sitting in the flue has to be pushed out before the fire can pull air up the chimney, and the colder the outdoor temperature, the longer that takes. In St. Paul, this is normal cold-start behavior for an unheated exterior chimney, and a properly sized and insulated liner is what fixes it. If the smoke continues past fifteen or twenty minutes, that’s a different problem and worth an inspection. Call (866) 942-6061 for an exact quote on a diagnostic visit; estimates are free.
A sweep is enough when the problem is creosote and nothing else; a new liner is needed when the flue tiles are cracked, misaligned, spalling, or missing at the joints. The two look similar from the living room, which is why a camera inspection with photographic evidence is the deciding step. If the liner has erosion but isn’t fully shot, a HeatShield resurfacing can sometimes restore the flue without demolition. If the liner has failed outright, a DuraFlex stainless system is the path. Don’t accept a reline recommendation without seeing the footage. Call (866) 942-6061 for a camera inspection; estimates are free.
The general guidance for a wood-burning fireplace is an annual inspection, with a sweep when the creosote layer reaches about an eighth of an inch. In St. Paul’s heating season, that often means a sweep every year or two for a wood-burning fireplace, and less often for a gas insert. The schedule depends on how much you burn, what you burn, and how the flue is holding up. An annual inspection is what tells you when the sweep is actually due, rather than guessing. Call (866) 942-6061 for an inspection; estimates are free.
Skipping a sweep allows creosote to build up in the flue, and creosote is the fuel that makes chimney fires possible. Heavy glazed creosote is the highest-risk form, and it can’t always be cleared with a standard sweep. The second risk is that a small liner problem, caught early by an inspection, gets put off until it becomes a full reline. It’s cheaper to inspect and sweep than it is to reline. Neither outcome is worth gambling on. Call (866) 942-6061 for an inspection; estimates are free.
New windows tighten the house, and a tight house changes the pressure balance a fireplace depends on. The chimney has to pull against a better-sealed building envelope, and exhaust fans running in the kitchen or bath can now pull harder than the flue can resist. The chimney didn’t change, the house did. The fix usually involves combustion air, a top-sealing damper, or a properly insulated liner to keep the flue warm enough to draft against the tighter house. Call (866) 942-6061 and we’ll evaluate the pressure balance and the flue together; estimates are free.
The reliable home test is whether smoke and smell improve with a nearby window cracked open; if they do, you’re dealing with pressure, not blockage. For blockage, look for falling debris in the firebox, a fire that won’t draw at all, or a smell that suddenly appeared with no change in habits. A blocked flue can push carbon monoxide into the home, so if you suspect blockage, stop using the fireplace until it’s been checked. Don’t try to clear a flue from inside the firebox or from the roof yourself. Call (866) 942-6061 for a same-day inspection; estimates are free.
The Bottom Line
Most St. Paul chimney problems fall into one of four buckets: draft failure, liner degradation, blockage, or negative pressure. Each one shows different symptoms and needs a different fix, and getting the bucket right before booking work is what stops the wrong repair from being sold to you. The cold-climate piece matters: tight houses, exterior chimneys, and a hard winter temperature differential all push failure modes to the surface that would stay invisible in a warmer state. A camera inspection with photographic evidence is the deciding step. A sweep is right when the problem is creosote. It’s the wrong purchase when the problem is pressure, a cracked liner, or a missing cap. Get the diagnosis right first, then get the fix.
If you’re troubleshooting a chimney problem in St. Paul and want a straight answer on what’s actually wrong, call Tundra Chimney Sweep at (866) 942-6061 for a free estimate. We answer 24/7. Fast dispatch from 7am to 7pm, Sunday through Friday. We sweep, repair, and inspect under one scope, we document findings in writing, and we’ll tell you when a repair can safely wait.
Written by the team at Tundra Chimney Sweep.